People come to me in the streets regularly, telling me about the great comfort they get from my bad pictures. “Until I read your posts I thought I was the only one” is the comment most often heard. Still, whenever you look at pictures, for example from Faraaz, David, Kai or Clive, you might feel a pang of envy or just simply the desire to take at least slightly better pictures. Investing in a camera and enormous telephoto lenses may be a bit of a stretch – you might be without talent – but we all have binoculars and/or a telescope. Can we turn these optic instruments into picture-taking devices? Yes, we can, and we can do it cheaply by making a gadget.
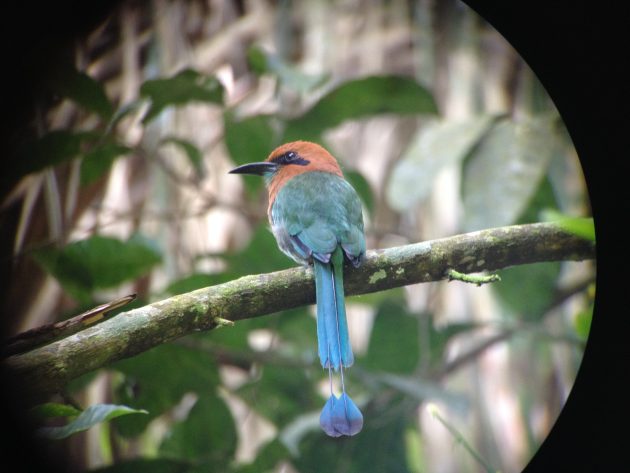
The purpose of the gadget is to perfectly align the camera with the ocular of the scope. If you don’t want to spend any money you can do this in the field manually. However, in my experience that is a hit-and-miss affair. Some results are great, like this Rufous Motmot in Panama.
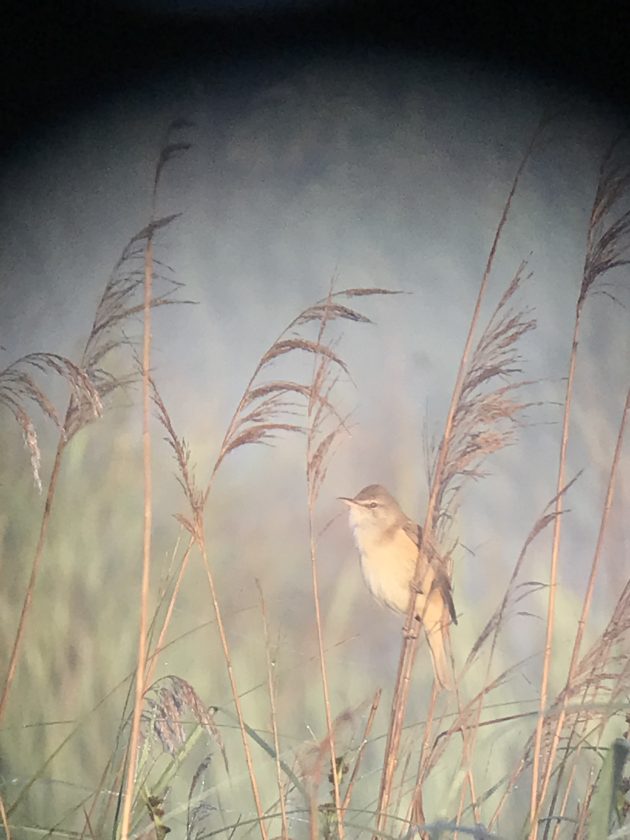
Others, like this Savi’s Warbler in Spain, less so.
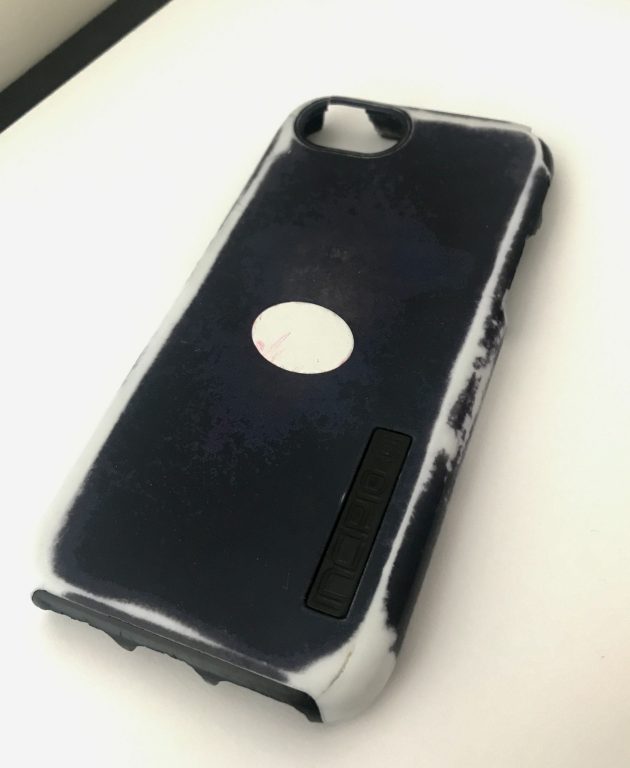
So, most of us fare better with the gadget. First we need to get our mobile phone and buy a cheap cover. These cost about the equivalent of 5 euros/dollars/francs. I happened to have a very old cover that I repurposed.
Next, a visit to the hardware store with your ocular (from your scope) or your binoculars. You will need to look for PVC pipe that makes for a snug fit. Not tight, but snug, so you can remove the pipe from the ocular easily. Cut the pipe to length – you want the phone’s camera to rest on the ocular with minimal clearance. Measure twice, cut once. You will have quite a bit of pipe to play with so don’t worry if you cut too much the first time around. These pipes come in lengths far beyond our needs. I recommend rummaging around in the pipe section – you can be fortunate and find the right piece without needing modifications. I was lucky because I found an endpiece that fitted perfectly. I’d have more surface area for the glue to stick to and a lot less cutting to do.
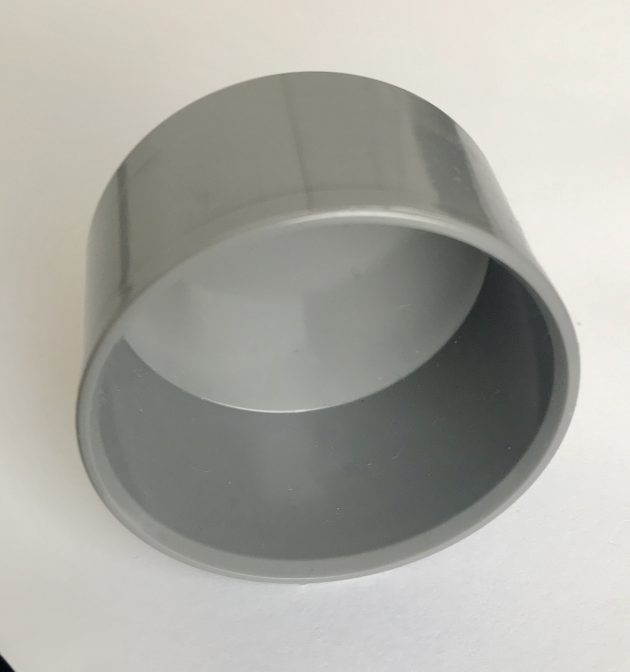
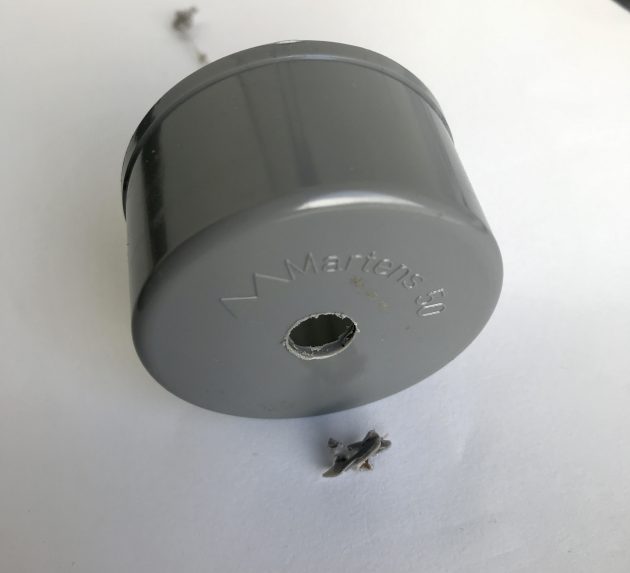
I needed to drill a hole in the right spot for my endpiece to be useful. PVC pieces are injection-moulded which ensures there’s a little marker right in the centre of the piece. Life made easy by the design of the process… Drill through that marker with a drill the size of your (phone) camera.
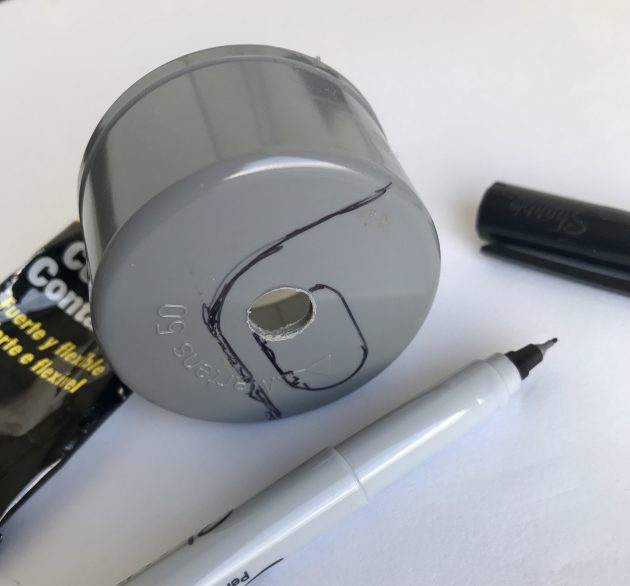
Getting glue on your camera will possibly affect the quality of your pictures so I marked the gluing area on the PVC piece. Interesting fact: it’s the same pen I use for marking my lifers in my field guides.
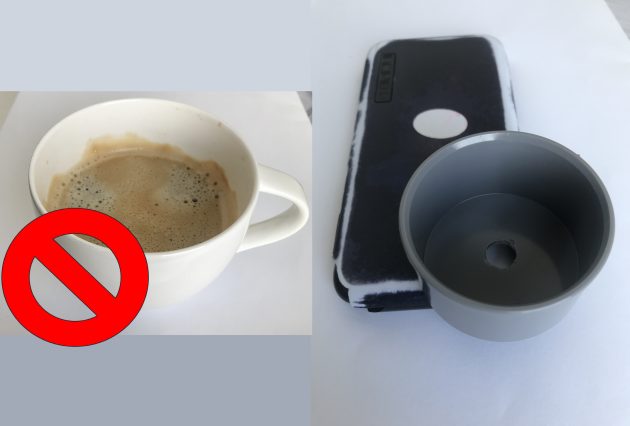
Finally, carefully assemble the gadget by gluing the pipe to the cover. Use your secondary school geometry to determine the centre of your pipe. Ensuring the alignment is both tricky and vital at this point so take your time, don’t drink too much coffee and steady those hands. With the endpiece all I needed to do was a bit of jiggling to ensure alignment between camera, endpiece and ocular. The best way is to look through the gadget at your camera to align well. I used contact glue which will bind to most surfaces. If you use super glue – watch those fingers.
So, what does it cost? A simple and cheap cover will be 5 euros. The PVC endpiece cost me 1.19 euros. I happened to have glue at home, but a little tube of glue will cost 3 euros. Altogether, you will be done for less than 10 euros. I have seen similar gadgets retail for 20 euros, so this is a good deal. Please donate the money you have saved to your favourite bird conservation organisation.
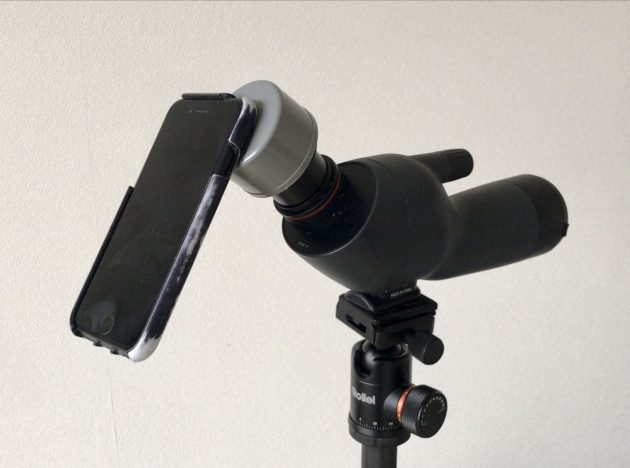
I am sure some of you can think of much smarter gadgets. If you do, please share in the comments. For now, the proof of the pudding is in the eating: does it work? An Egyptian Goose at 300 paces would serve nicely as my test object.
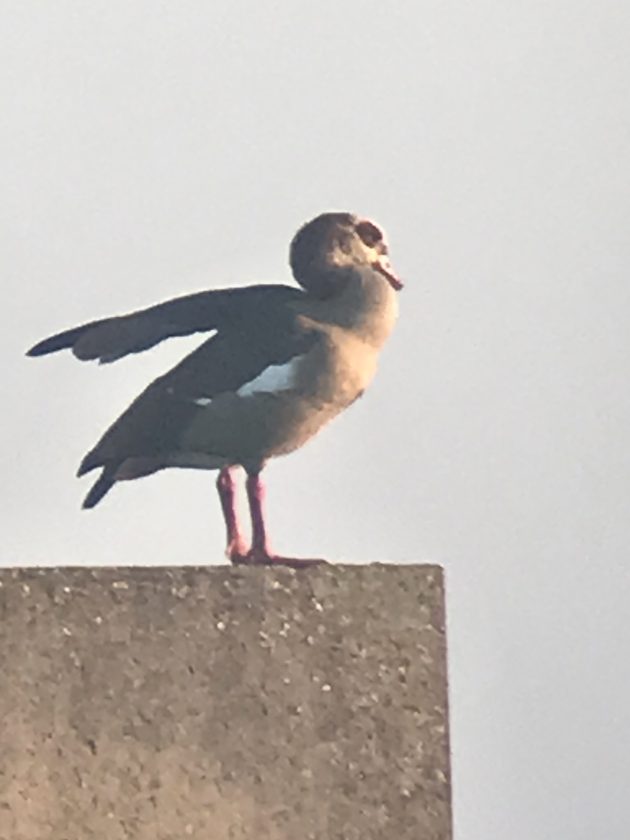
No, still rubbish…
Source link


